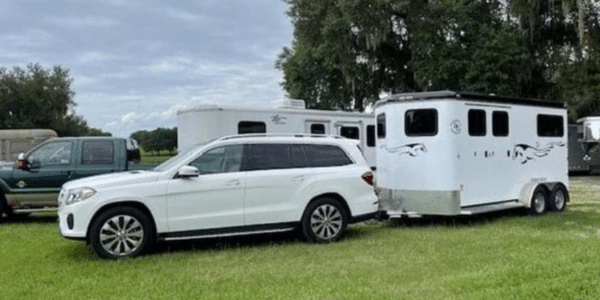
Spring Horse Trailer Safety Checklist: What to Inspect Before Your First Haul of 2026
Quick answer: Before your first spring haul, inspect seven critical areas in this order: tires (check for dry rot and 1/4-inch minimum tread), floor (pull mats back to check for rot under the boards), wheel bearings (repack annually), brakes and break-away battery (test while hitched), lights and electrical plug, hitch and safety chains, and ventilation/interior fixtures. A trailer that sat over winter almost always has at least one hidden hazard, even if it looked fine when you parked it.
If you want a second set of eyes, Double D Trailers offers a Virtual Horse Trailer Safety Inspection where our team walks through your rig with you via video call before your first trip.
Why Does a Trailer Need a Full Inspection in Spring?
Three problems develop silently during winter storage: tires dry-rot from sitting on cold concrete, break-away batteries lose their charge and fail to hold one, and moisture seeps under mats to rot wood floors or corrode aluminum. None of these are visible on a quick walk-around. Each one can cause a catastrophic failure on the highway, so a thorough inspection in March or April is non-negotiable.
What Should I Check First on a Horse Trailer After Winter Storage?
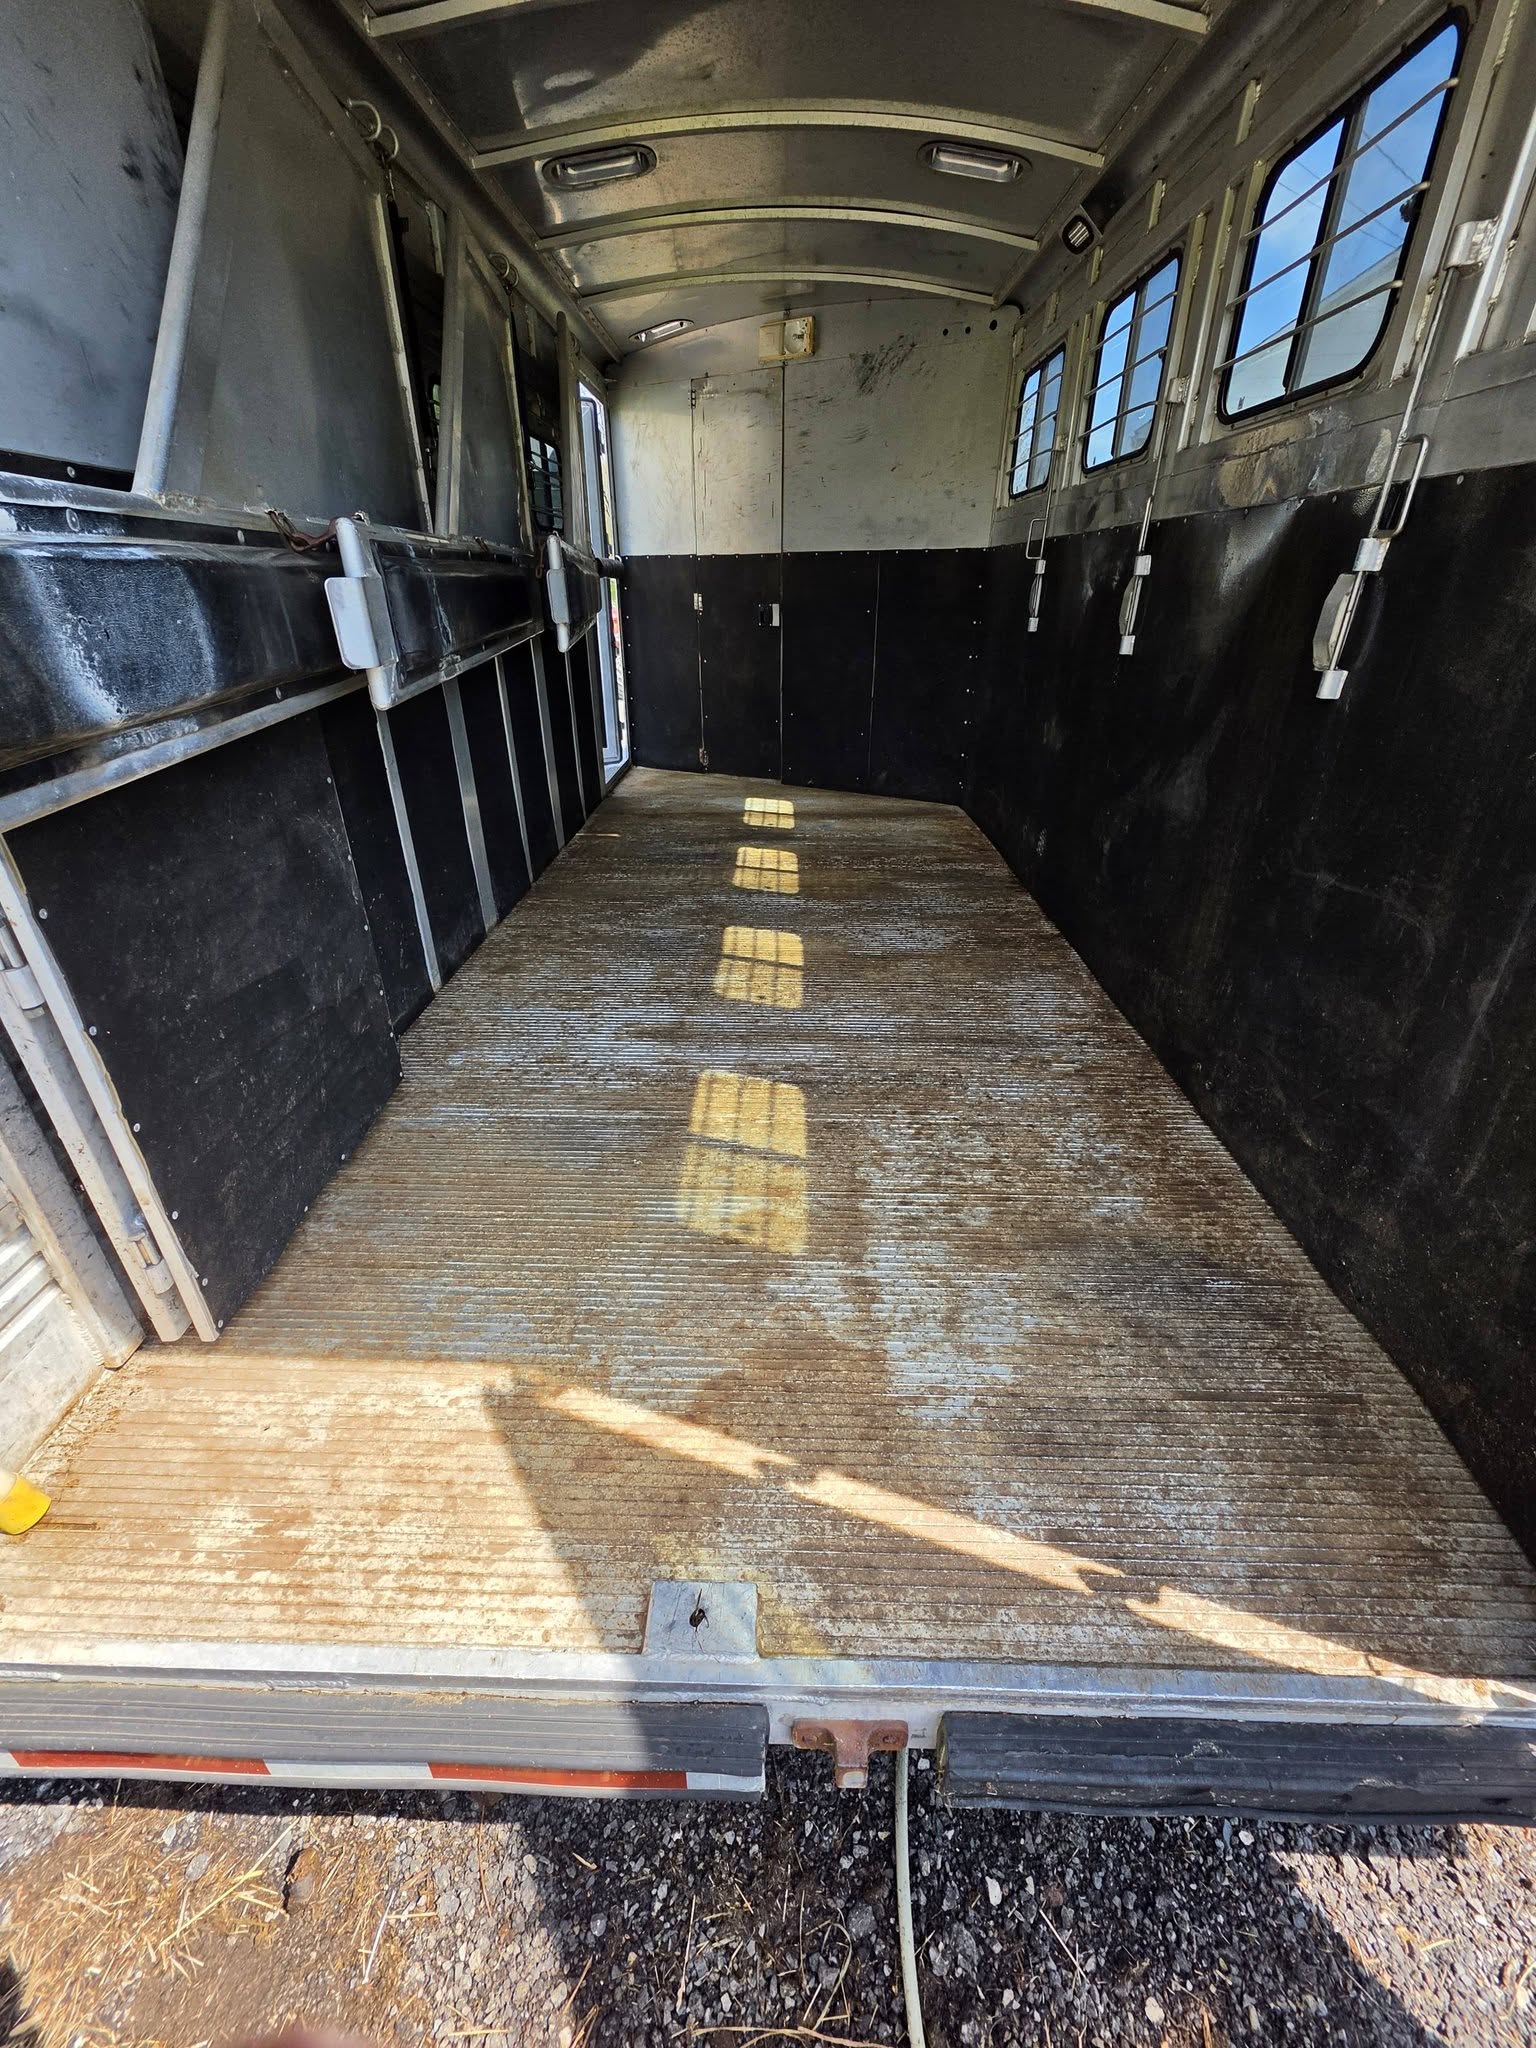
Start with the floor. It is the single most overlooked safety component and the one most likely to have deteriorated over winter. Pull the mats all the way back, especially at the edges where debris and moisture collect. On wood floors, press a screwdriver into each board. If it sinks in or the wood feels spongy, that board is structurally compromised and must be replaced before you load a horse. On aluminum floors, look for white oxidation powder or pitting, which signals corrosion from trapped urine, hay, and condensation.
The 7-Point Spring Horse Trailer Inspection
1. Tires and Wheels
Horse trailer tires fail from age far more often than from tread wear. Check for these issues:
- Dry rot: Spiderweb cracking on sidewalls or between tread blocks. Any visible cracking means replace the tire, regardless of tread depth.
- Tread depth: Minimum 1/4 inch (8/32"). Though the federal legal minimum is 2/32", replacing trailer tires at 1/4" gives a meaningful safety margin, especially since horse trailer tires age out before they wear out.
- Age: Replace trailer tires every 5 to 7 years even if they look fine. Find the DOT code on the sidewall; the last four digits are the week and year of manufacture.
- Pressure: Check cold pressure against the sidewall spec. Include the spare; a flat spare is the same as no spare.
- Wheel bearings: Repack every 12 months or 12,000 miles. Spring is the best time because winter temperature swings cause condensation inside the hubs.
2. Floor (Under the Mats)
This is where hidden rot hides. Pull every mat. Check:
- Wood boards for softness, dark staining, or give under a screwdriver
- Aluminum planks for white oxidation, pitting, or flex when pressed
- Edges, corners, and areas under the rear doors where water collects
- The seam where the floor meets the sidewall
Any compromised board is a through-the-floor risk. Replace before hauling.

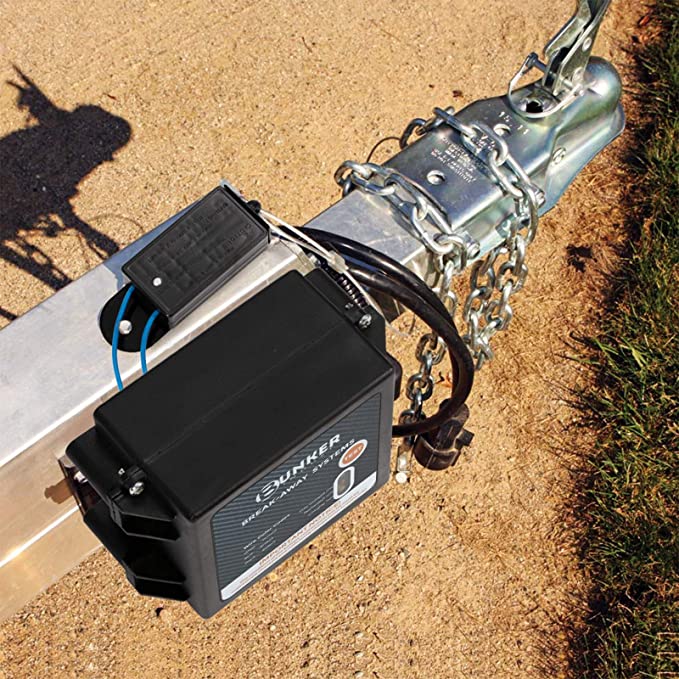
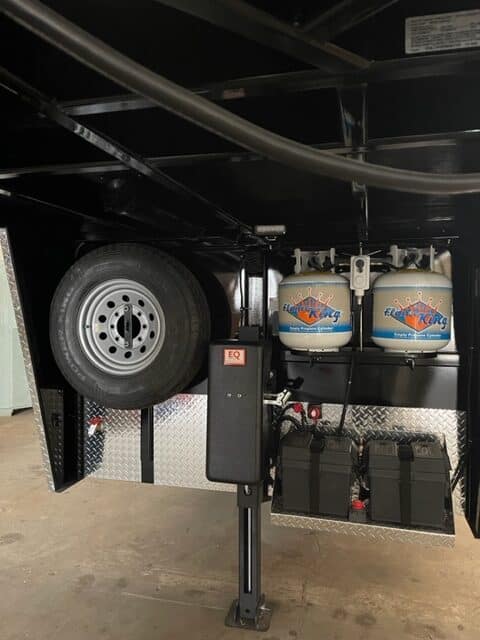
3. Brakes and Break-Away Battery
Hitch the trailer to your tow vehicle and test the electric brakes from the controller. You should feel firm, even engagement from all axles. Then test the break-away:
- Pull the break-away pin with the trailer connected but the tow vehicle off
- The trailer brakes should lock immediately
- The battery should hold that load without the brakes releasing. Note: If your battery is more than 3-5 years old, it likely won't pass this stress test and should be replaced
If the battery struggles, replace it. A break-away battery that fails is the difference between a runaway trailer and a controlled stop.
4. Lights, Wiring, and the 7-Pin Plug
Clean the 7-pin plug pins with a dedicated cleaner or a small file. Apply dielectric grease to the terminals to prevent future green corrosion from moisture. Then have a partner stand behind the trailer while you cycle through: running lights, left signal, right signal, brakes, reverse, and interior lights. Replace any burnt bulbs and tape or replace any frayed wiring. LED upgrades pay for themselves, they draw less current and can last three to five times longer than incandescent bulbs.
5. Hitch, Coupler, and Safety Chains
Check that the ball size stamped on the coupler matches the ball on your tow vehicle. If you bought a new truck or SUV over the winter, verify before your trip, not in the driveway the morning of. Inspect the coupler latch for smooth operation, the chains for stretched or bent links, and the breakaway cable for fraying. Grease the ball and the coupler mechanism.
![]()
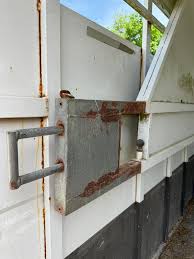
6. Interior: Dividers, Latches, Padding, and Ventilation
Moving parts seize over winter. Lubricate every hinge, latch, divider pivot, and window slide with a dry silicone or marine-grade lubricant. Test that dividers swing freely and lock securely. Then:
- Ventilation: Clear bird nests, wasp nests, and debris from roof vents and window screens. Stale, dusty air is one of the quickest ways for a horse to develop respiratory issues or shipping fever during a long haul.
- Padding: Check wall and divider padding for rodent damage, tears, or loose attachment points.
- Water tank: Sanitize with a diluted bleach solution, flush completely, then refill. Stagnant winter water grows biofilm and algae.
- Hay racks and feed bags: Empty and wipe down. Moldy residue causes respiratory issues.
7. Living Quarters (If Equipped)
- Propane: Inspect tanks for rust and valves for damage. Test the cooktop, furnace, and water heater before leaving the yard.
- Appliances: Run the AC and heat for at least 10 minutes each.
- Fire extinguisher: Gauge should be in the green. Replace if expired.
- Smoke, CO, and propane detectors: Test and replace batteries.
What Should Be in a Horse Trailer Emergency Kit?
A well-stocked kit lives permanently in the tack room, not in your house. Verify before every trip:
- Hydraulic jack rated for your loaded trailer weight
- A telescoping lug wrench with a socket that fits your trailer’s nuts. (Test this today, your truck's wrench almost certainly won't fit your trailer's recessed wheels)
- Reflective triangles and wheel chocks
- Heavy-duty flashlight, spare batteries, and spare bulbs
- Electrical tape, duct tape, zip ties, and a sharp knife
- Spare fuses and bulbs for every trailer light
- Fire extinguisher with the gauge in the green
- Equine first-aid kit: vet wrap, standing wraps, splints, antiseptic, clean gauze, a thermometer, and your vet's emergency contact
- Copy of your horse's Coggins and current health certificate
- Gallon of water and a collapsible bucket
2026 Safety Upgrades Worth Considering
Three upgrades have moved from luxury to mainstream in recent years:
Tire Pressure Monitoring Systems (TPMS). External cap-style sensors now run under $200 for a four-tire kit and alert you to slow leaks, high hub temperatures, and pressure drops in real time on your phone. A heating hub is the earliest warning of a failing bearing, and catching it 30 miles before it seizes is the difference between a roadside tire change and a fire.
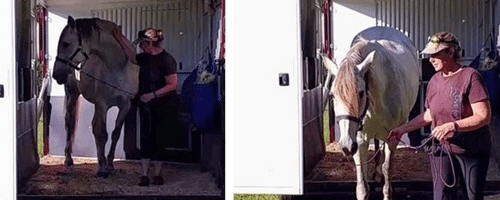
Wireless interior cameras. A camera in the horse area lets you watch for balance issues, weight-shifting, or signs of distress. On your first trip of the year, horses frequently show "re-entry anxiety" after months off the trailer. Seeing it lets you adjust your driving or stop before it becomes injury.
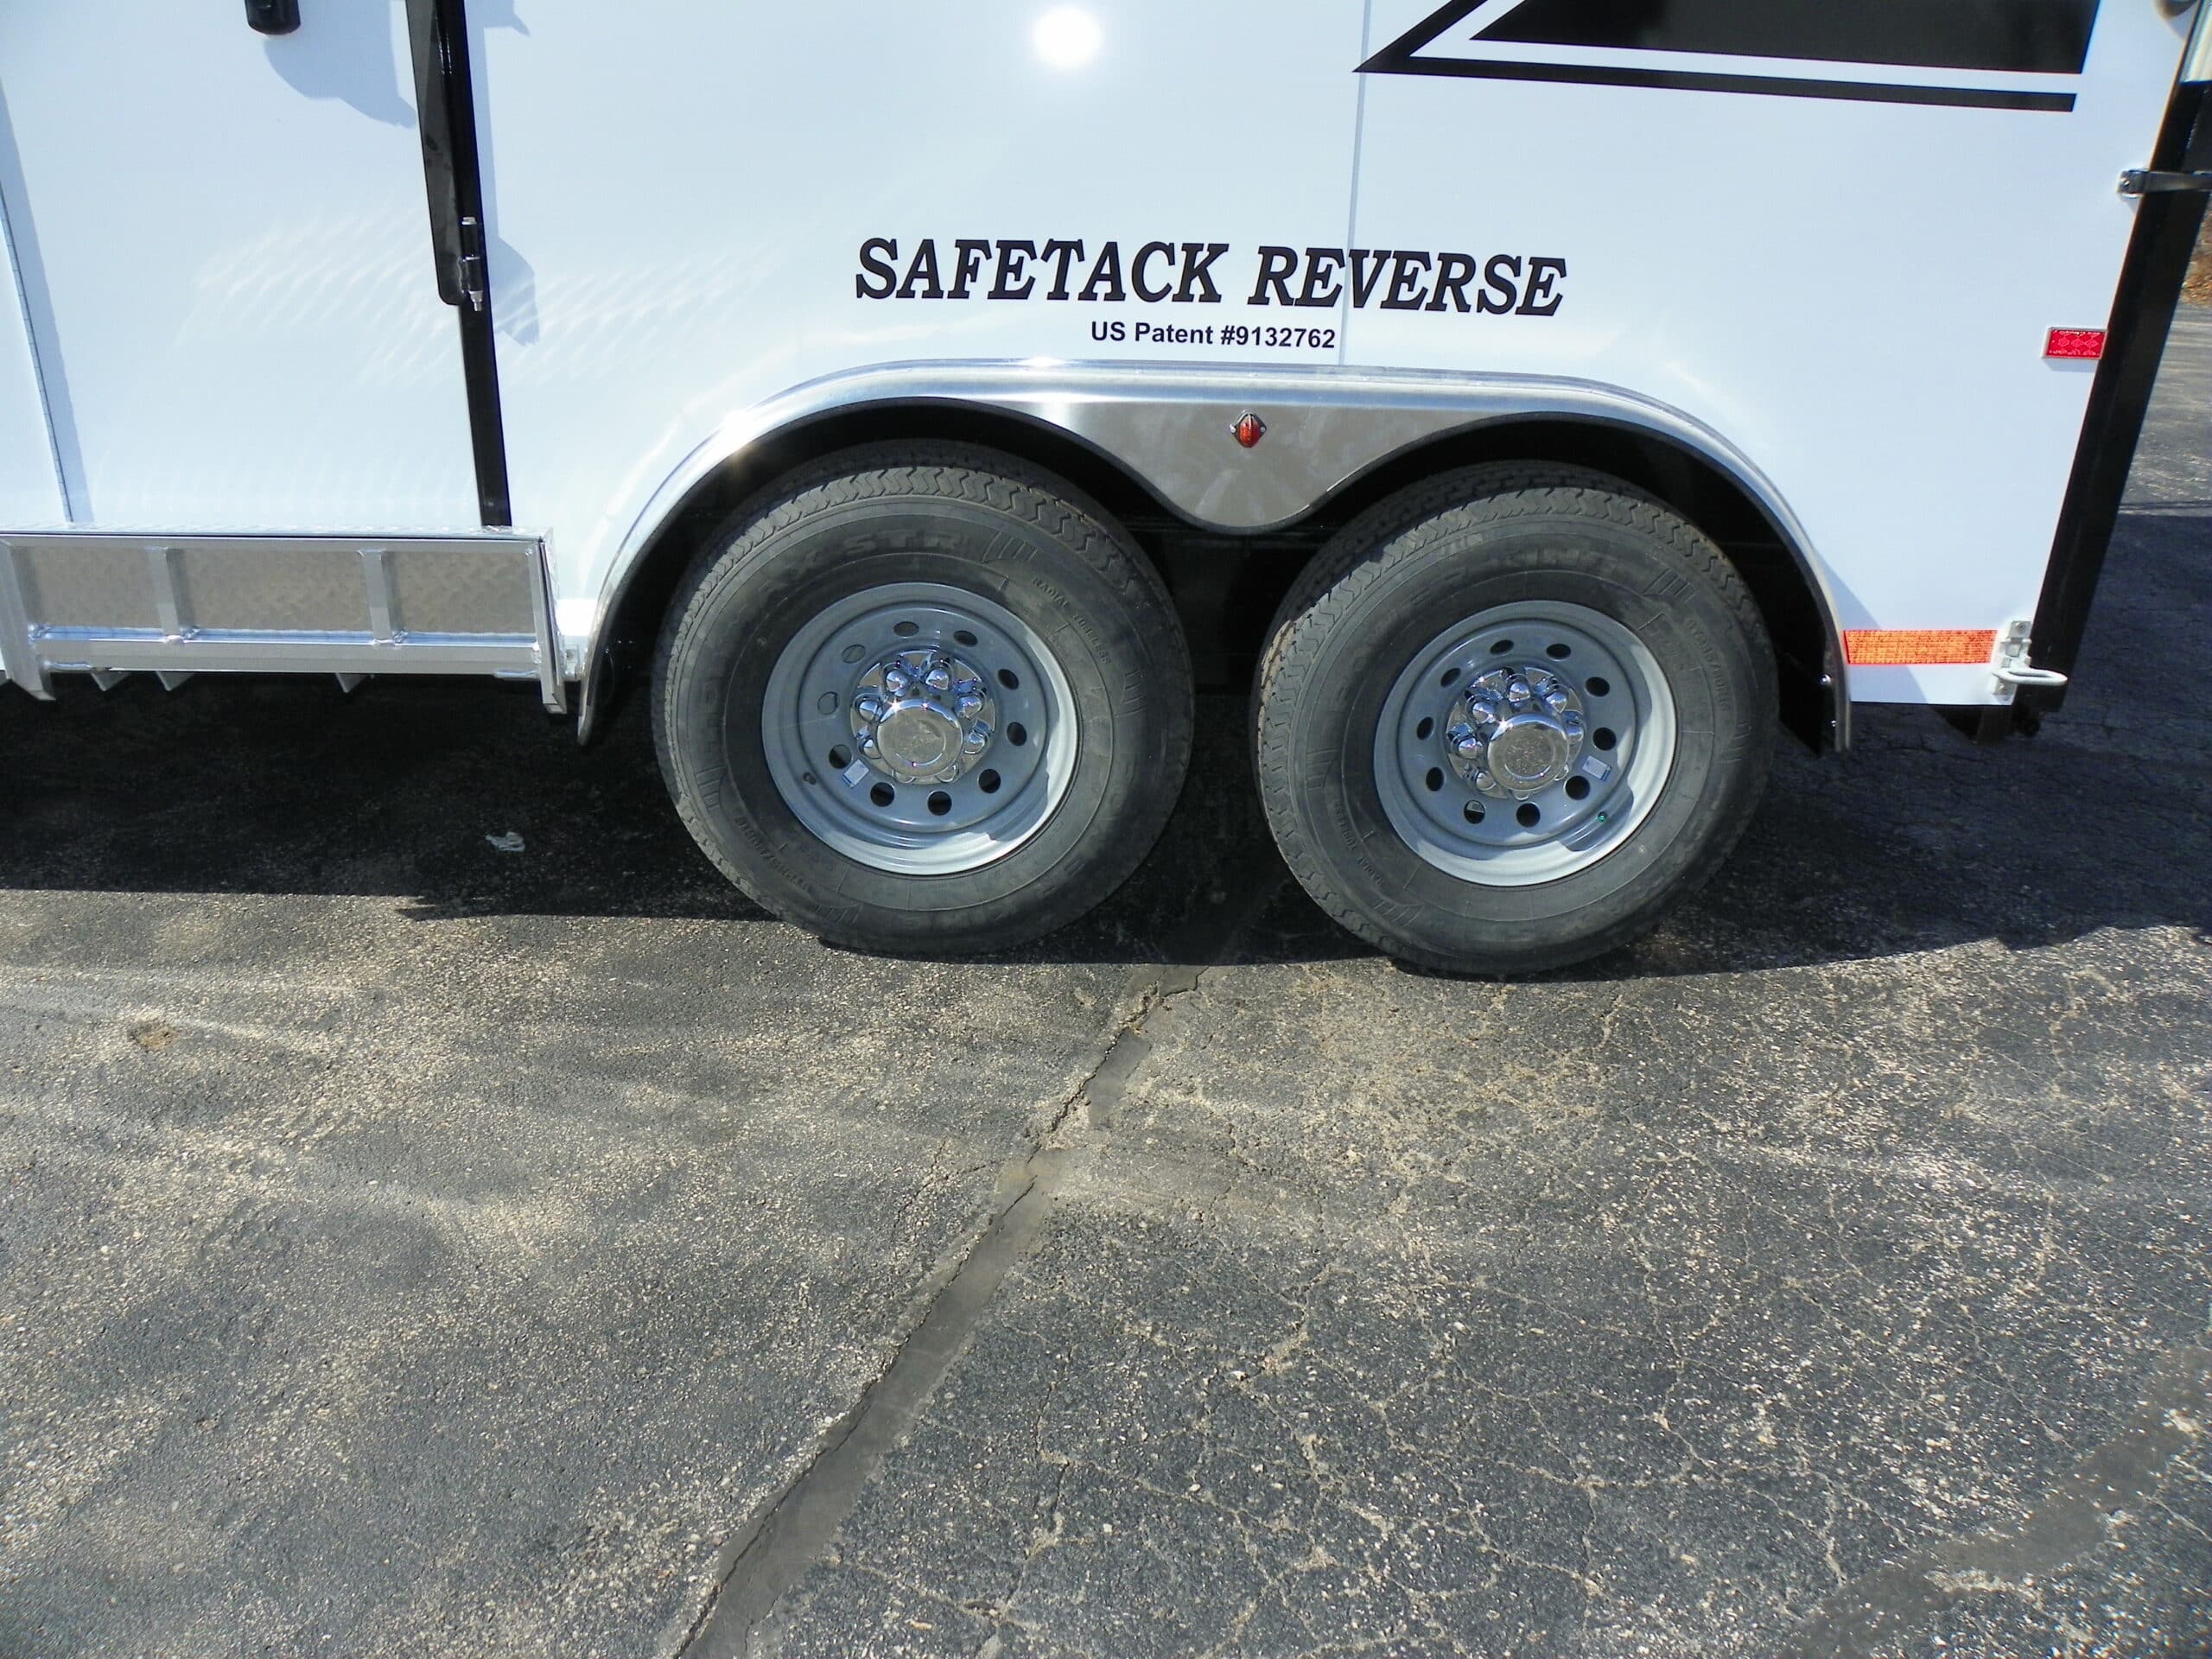
Loading design. If your horse hesitates or refuses to load this spring, the trailer design itself may be the problem. Traditional rear-tack trailers often create a narrow, dark 'tunnel' that makes many horses feel claustrophobic or spooked. SafeTack designs swing the rear tack out of the way for loading, giving the horse a full-width, unobstructed entry. Many owners find a horse that refuses a standard trailer loads willingly into a SafeTack.
Common Spring Maintenance Questions
How often should I repack horse trailer wheel bearings?
Every 12 months or 12,000 miles, whichever comes first. Spring is the ideal service window because winter temperature fluctuations cause condensation to build inside the hubs, and grease that has been heat-cycled over a long hauling season the year before has often broken down.
What is the safest flooring for a horse trailer?
Rumber (recycled rubber) flooring is the current leader for safety because it does not rot like wood or corrode like aluminum, absorbs vibration better than either material, and provides consistent traction even when wet. Pressure-treated wood floors remain common and are safe when properly maintained and replaced on schedule. Aluminum floors are durable but require diligent cleaning to prevent urine corrosion.
How do I check for horse trailer floor rot?
Pull every mat back fully. On wood, press a screwdriver or awl into each board, paying special attention to the rear four feet and the edges along the walls. If the tool sinks in or the wood feels spongy, the board is compromised. On aluminum, look for white powdery oxidation, pitting, or flex when you press down. Check under the dividers and in the corners where debris and moisture accumulate.
How do I know if my trailer tires are dry-rotted?
Look for spiderweb cracking on the sidewalls or between the tread blocks. Even tires with full tread depth must be replaced if they show visible cracking or are more than five to seven years old. Find the DOT code on the sidewall. The last four digits are the week and year of manufacture (for example, "2319" means the 23rd week of 2019).
How long can a horse trailer sit without being used?
A trailer can sit for a full off-season safely if it is stored properly: tires off the ground or on tire cradles, break-away battery on a maintainer, mats pulled back to let the floor dry, and the interior clean of hay and manure. Without those steps, four to six months of sitting is enough to cause tire dry rot, battery failure, and floor damage.
Should I grease my trailer hitch in spring?
Yes. Apply a light coat of grease to the ball and inside the coupler mechanism. Also lubricate the coupler latch, the jack, and any pivot points on a gooseneck. Winter moisture causes surface rust that seizes moving parts, and a coupler that does not latch fully is a serious safety hazard.
How do I test my break-away battery?
With the trailer hitched and the tow vehicle off, pull the break-away pin. The trailer brakes should lock instantly and hold for at least 15 minutes. If you hear the brakes engage weakly, or they release within a few minutes, the battery is failing and needs replacement. Most break-away batteries last three to five years.
Final Walk-Around
A thorough spring inspection takes two to three hours. That is a small cost compared to a blowout on the interstate with a horse in the trailer, a floor failure, or a runaway trailer on a downhill grade. Work through the seven points in order, pull every mat, test every light, and pull the break-away pin. Your horse cannot tell you the trailer feels unsafe, you have to check for them.
Want a Professional Eye on Your Rig?
If you want expert confirmation that your trailer is ready for the season, schedule a Virtual Horse Trailer Safety Inspection with Double D Trailers. Our team walks through your trailer with you over video, point by point, so you head out for your first trip of 2026 with full confidence in every component.
Text us at 910-444-2880.